
0·
2 months agoMaybe? Specifically, it’s from the Disney+ show they made.
Not that Disney is the best messenger, but there’s something of value in a superhero show that has very thinly coded episodes about gentrification, rotating door prison systems, and the dangers of social media addiction, among others.


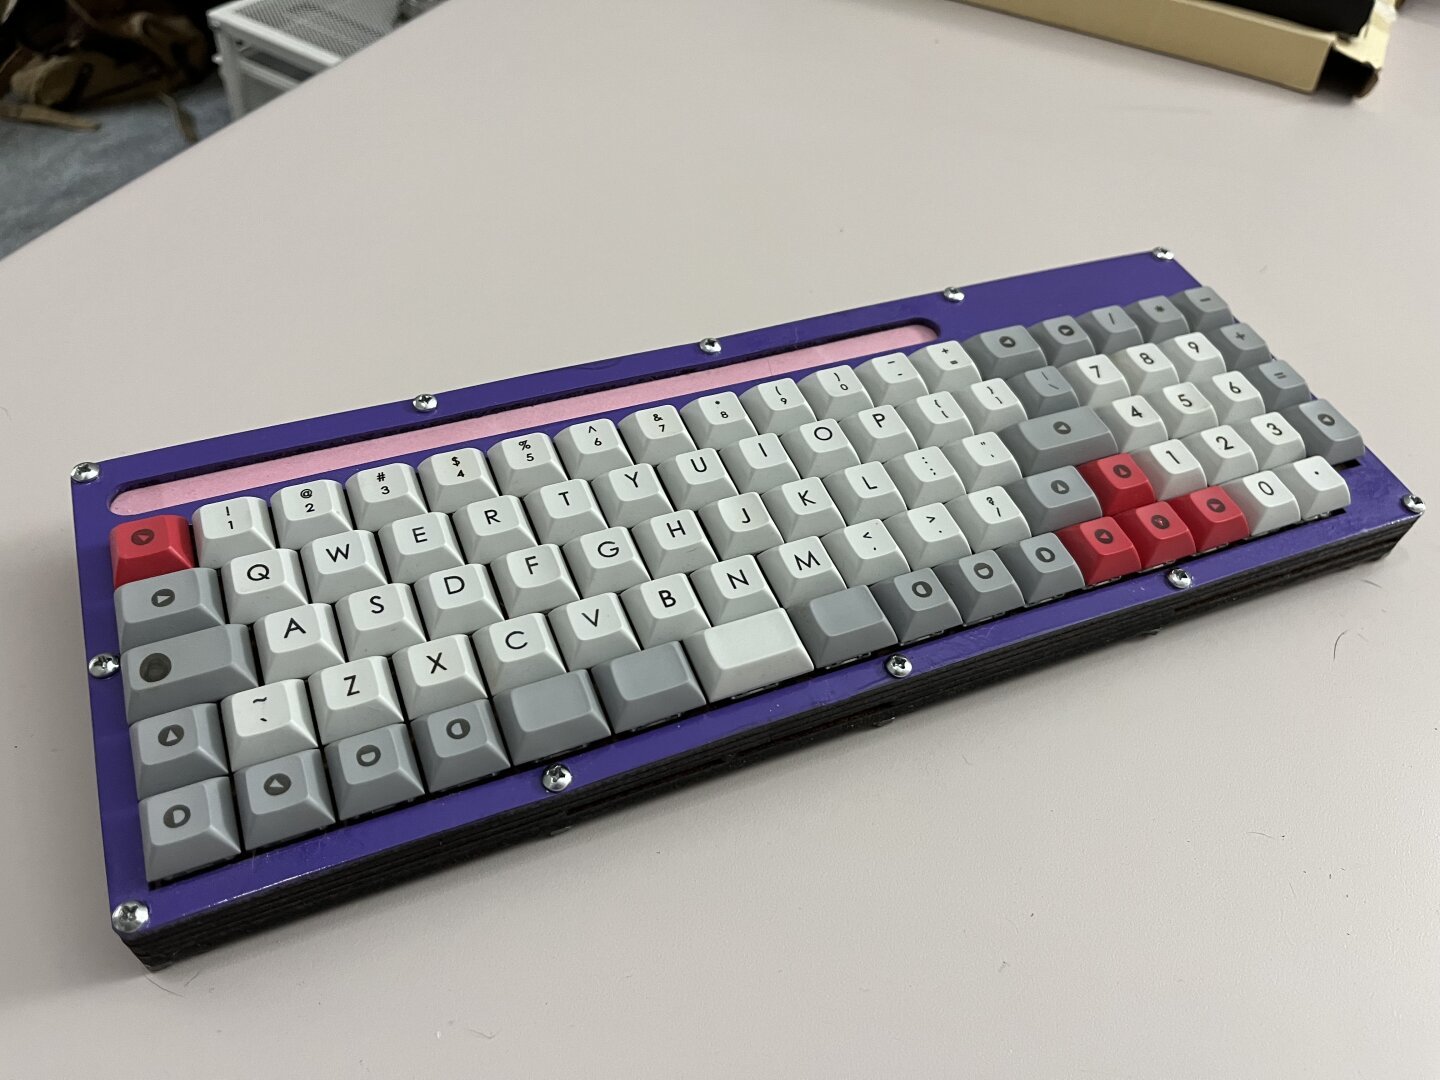
Certainly looks like it came out great. I loved the write-up, too. Extra points for figuring out what you actually needed to make an effective press.